Along with reading, writing, and cycling, I spend much of my free time drumming. I was fortunate to have private lessons while growing up, and playing still brings me joy nearly twenty years later. It’s common for suburban drummers like me to investigate using two bass drums, or a pedal that allows one to play the bass drum with both feet. This is seen by many teenage boys as very necessary equipment to truly rock.
After watching old video of myself playing in formal school and garage bands, I came to the conclusion that I sounded better when I focused on one pedal. My double pedal had little life left in it after ten years, and I decided to sell it to a tinkerer. After some research and testing I bought the pedal I felt was just right for me. It’s a fairly simple design (I didn’t really play with the settings on my other one, and likely wouldn’t now) and it was designed and manufactured in the United States (California). It was and is very important to me to support local (or at least domestic) operations, and in this instance, the price was highly competitive with other brands offering similar quality products. Thus ends my short sermon a few days after Fourth of July.
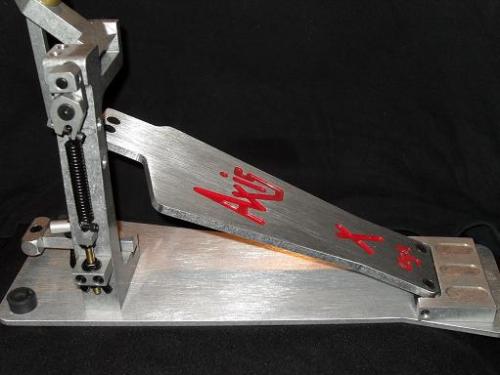
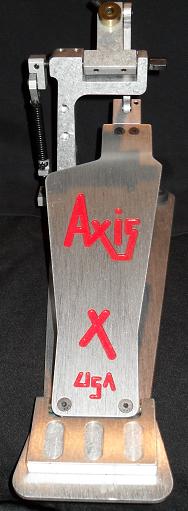
I digress. Here she is:
It’s an Axis AX-X for those curious. My feelings after the first time I used it?
It wasn’t long before a rather large, free plastic toolbox came into my possession. The box was too big, and to keep the pedal from floating around I stuffed in some cardboard until I could come up with a better solution. Before I could get around to it, I ended up moving across the country to Florida for seven months. More about that experience may be found in prior entries.
Last week I had the pleasure of unpacking my musical equipment and bringing it across town to a friend’s house. I once again felt guilty about the improvised case. I decided it was time to modify the case I was using, or to find a suitable replacement.
I decided to try and tweak with the free one I already had. I purchased “foam-in-a-can” from a big-box home improvement chain after consulting with their staff. I won’t name names, as this product probably has many useful applications, and the staff was very friendly. We’ll just say the color scheme was safety orange.
I bought the “foam-in-a-can” to seal the gap between the pedal and the edges of the toolbox. Not wanting a comic misadventure, I slipped some cardboard into some preexisting grooves and filled the compartments 3/4 of the way. I planned to let foam set, take out the cardboard, and be on my merry way.
This is basically what happened:
A proto-sentient bubble monster! I tried to shape the cured foam with a knife, but it fought back with what seemed like maple syrup residue. I cut my losses and bid farewell to my four dollars and the remaining “foam-in-a-can”.
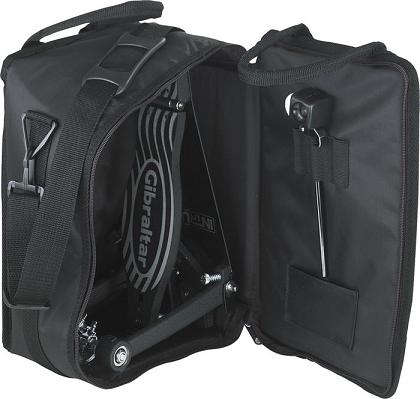
Starting over, I turned to the internet. I used to use a camcorder bag, which I remember was also too big, and I had parted ways with it ten years ago. The only product I could find was this, costing $40 plus tax and/or shipping or gas money to drive an hour to pick it up:
Careful scrutiny reveals that the bag is soft and pliant, which, to me, was a step backwards from a hard plastic toolbox. My challenge was to improvise a case for $40 or less that would provide as much protection as possible. I wanted something that I could nearly throw down the stairs with imputiny.
What I needed was a metal mechanic’s toolbox, and a way to cushion the inside.
I reasoned metal would be less prone to shattering and cracking than plastic. I began with my local hardware stores. All their toolboxes were plastic. I returned to the safety-orange home-improvement store later in the week. While they have many toolboxes, none were metal.
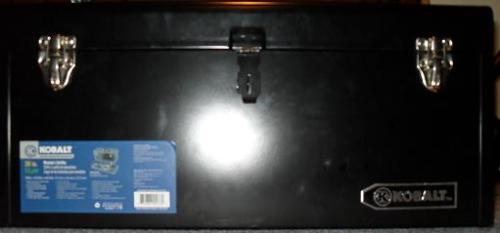
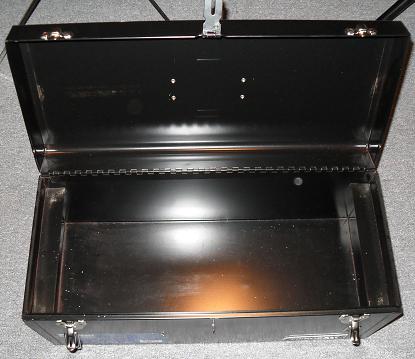
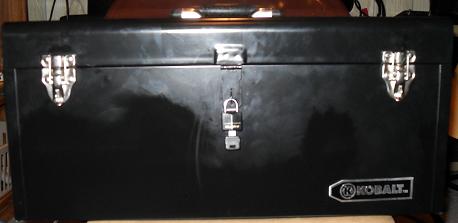
I guessed that the next places I should look were auto parts stores (which were far away) or camping/outdoors stores (a metal tacklebox, perhaps?). At the blue-schemed big box home-improvement store, I found my box for $29.98.
Critical advice to anyone who may wish to do this themselves: I had the presence of mind to bring my pedal with me to the store to ensure it would fit. I also kindly alerted the staff of what I was doing before bringing the pedal into the store with me. I’m sure you could jot down the dimensions and bring measuring tape, but whichever you choose (I reasoned bringing the actual item eliminates any chance of error), be sure you somehow check that it will fit and save yourself the aggravation of a wasted trip.
Conveniently, this box was large enough for both the pedal and padding. Swearing off “foam-in-a-can”, my next inclination was to use felt, styrofoam, weatherstripping, or maybe some sponge or eggcrate material. With my box in hand, I went across the highway to the local major music retailer to buy a new snare head while I thought this over some more. I wanted to peek inside some professional cases for inspiration while at the music store as well.
Next door to the music store was a discount retailer holding a sidewalk sale of summer items. It was sheer epiphany- pool noodles were inexpensive ($1-2 each) and seemed easy to dissect. I had my filling. The total cost for project materials is now roughly $31.50.
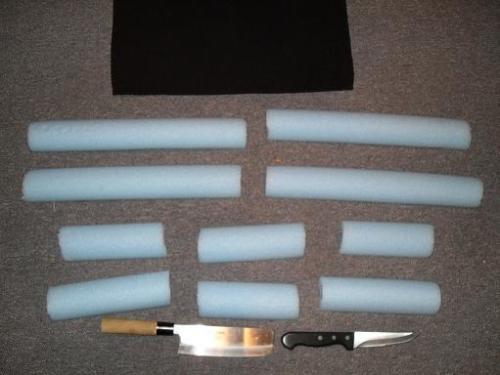
Returning home, I began by cutting the first noodle as so:
First I cut two tubes roughly the width of the box, and cleaved the rest of the first noodle into thirds, each third happening to be the depth of the box. I used the cleaver pictured on the left simply because it was nearby. Each of these segments I then cut lengthwise in half, making what struck my as really tiny airplane hangars. I used the smaller knife of the right to do this as it was easier for me to control. As always when working with sharp instruments, work slow, use caution, and the least amount of force possible. Cut away from yourself to reduce the chance of injury.
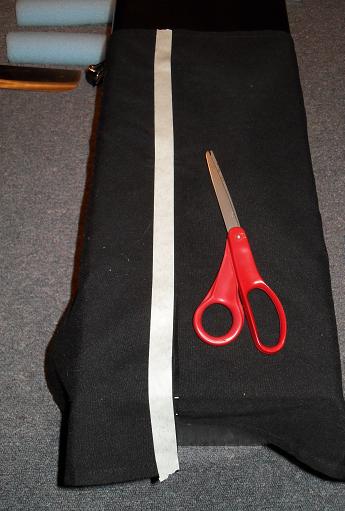
Now that I had that out of the way, I needed something thin, soft, and resistant to velcro to line the floor and top of the box… the noodle or weatherstripping wouldn’t work because of the very tight fit. Luckily, I had some soft black cloth I could sacrifice. This black cloth was a square the size of a dinner napkin, and when cut in half, it would perfectly fit the top and bottom areas.
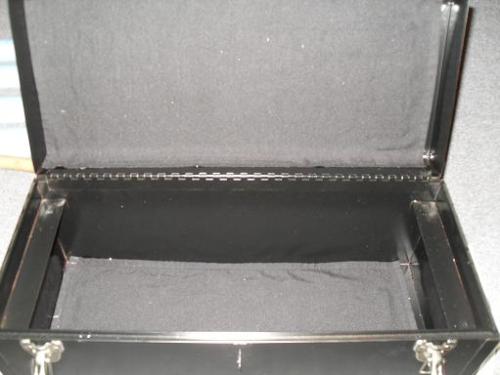
I imagine that there are an assortment of options available for adhesives in this project. I went with, again, what was readily accessible and seemingly appropriate: a standard hot glue gun. I suppose contact cement, a variety of glues, or event epoxy would do the trick. Anyway, with the pieces laid out before me, I started assembly with the cloth lining on the top and bottom.
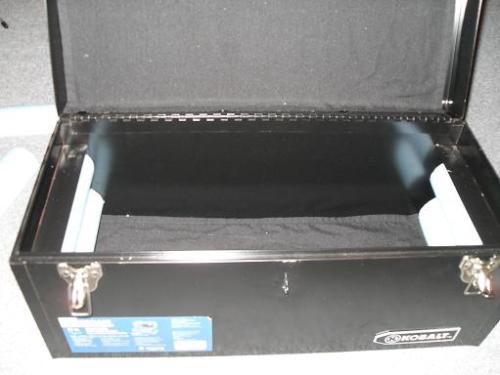
Next I glued two of the sections I cut to match the depth of the box per side, using two of the original three shorter segments. If that sounds confusing, here’s what it looks like:
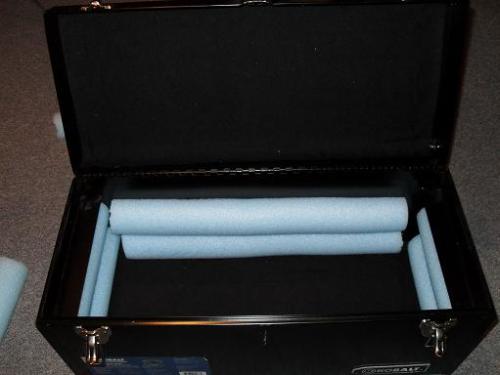
I then glued the four lengthwise pieces into place:
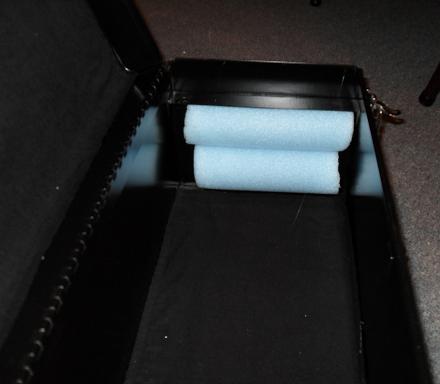
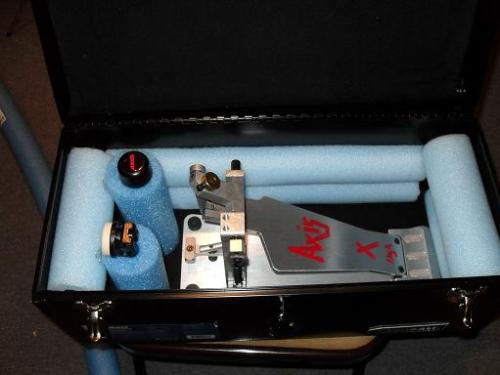
With these in place, I then took the last two pieces of foam and glued them to cover the metal protrusions that supported the insert tray. I wouldn’t like my drive system to clang into those.
At this point I had used all of one noodle and had a second ready to go. I placed the pedal in the box at this point to assess how much room I still had, and with this information I’d then strategize how to close the gap.
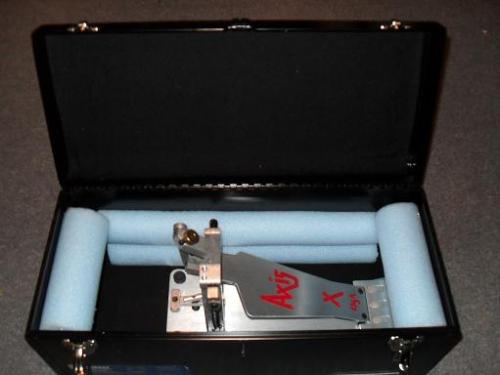
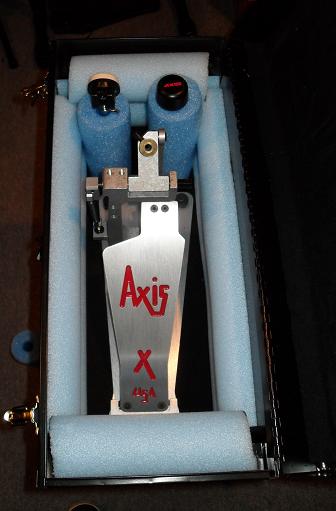
So here’s the pedal in the box thus far with the protrusions covered:
By my eye, that space’s width was precisely the diameter of a stock noodle. It also happened to be twice the depth. So since the noodles I bought were hollow (lucky accident), I decided to cut them to as long as a bass drum beater. Two of these would close the gap and hold both the stock Axis beater and Yamaha one that I alternate between. Hurrah!
I glued these to the floor, the width wall foam, and to each other for strength.
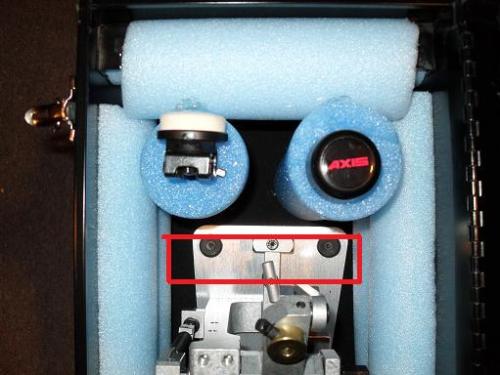
I was just about done when I noticed this space between the drive and these two pillars, indicated by the red box outline:
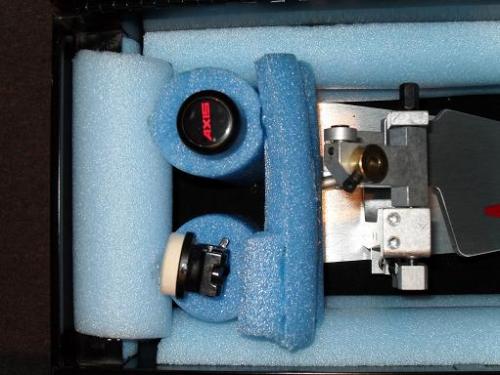
Luckily, I had quite a bit of the second noodle left over, and I cut some strips to fill in this gap. This is how it turned out:
With the inside done, I turned my attention to the outside. There was this annoying sticker:
I made short work of it with a hair dryer to warm it up, a gentle approach to peel it off, and then some “Goo-Gone” to take care of any residue.
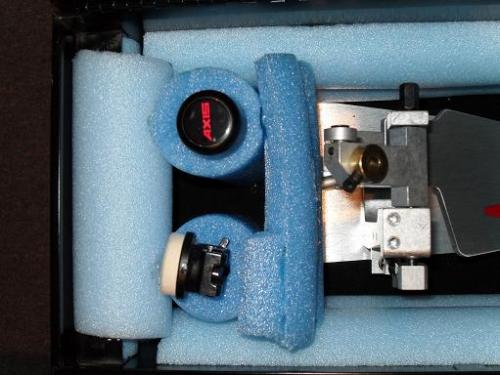
Thus, this is my new single pedal case for a under $35 and it’s stronger to boot!

